Skip to Main Content
The Shield
Facebook
Instagram
X
Search this site
Submit Search
Open Navigation Menu
The Shield
Home
News
Crime Log
Send us a news tip
Sports
Division I Coverage
Scores and Schedules
Opinion
Letters to the editor
Write a letter to the editor
Cartoons
Features
Reviews
Daily Crossword Puzzle
About Us
Staff
Contact us
Send us a news tip
Write a letter to the editor
Work for Us
Social Media
Advertise with Us
Rate Card
Policies
Bill Payment
Subscribe to Newsletter
Unmasked Request Form
The Shield
Open Search Bar
Search this site
Submit Search
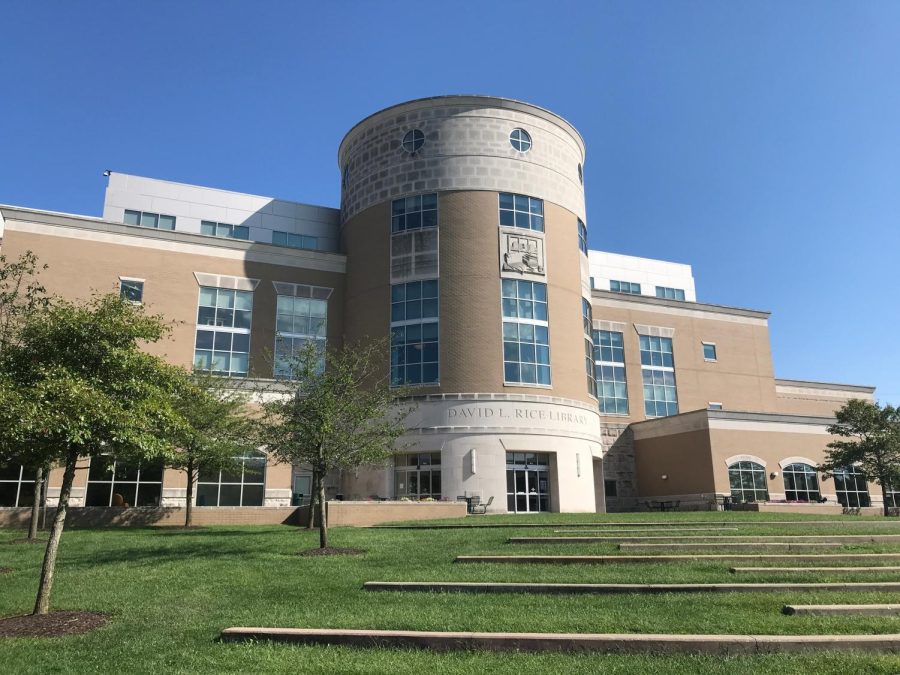
All content by Photo by Ian Lloyd
[Photo] Hidden treasures in the David L. Rice Library: What students need to know
September 28, 2022
Load More Stories
Close
Close Modal Window
Close